Category Archives: Pleasant St Homestead

Hydrogarden Update: Redesign

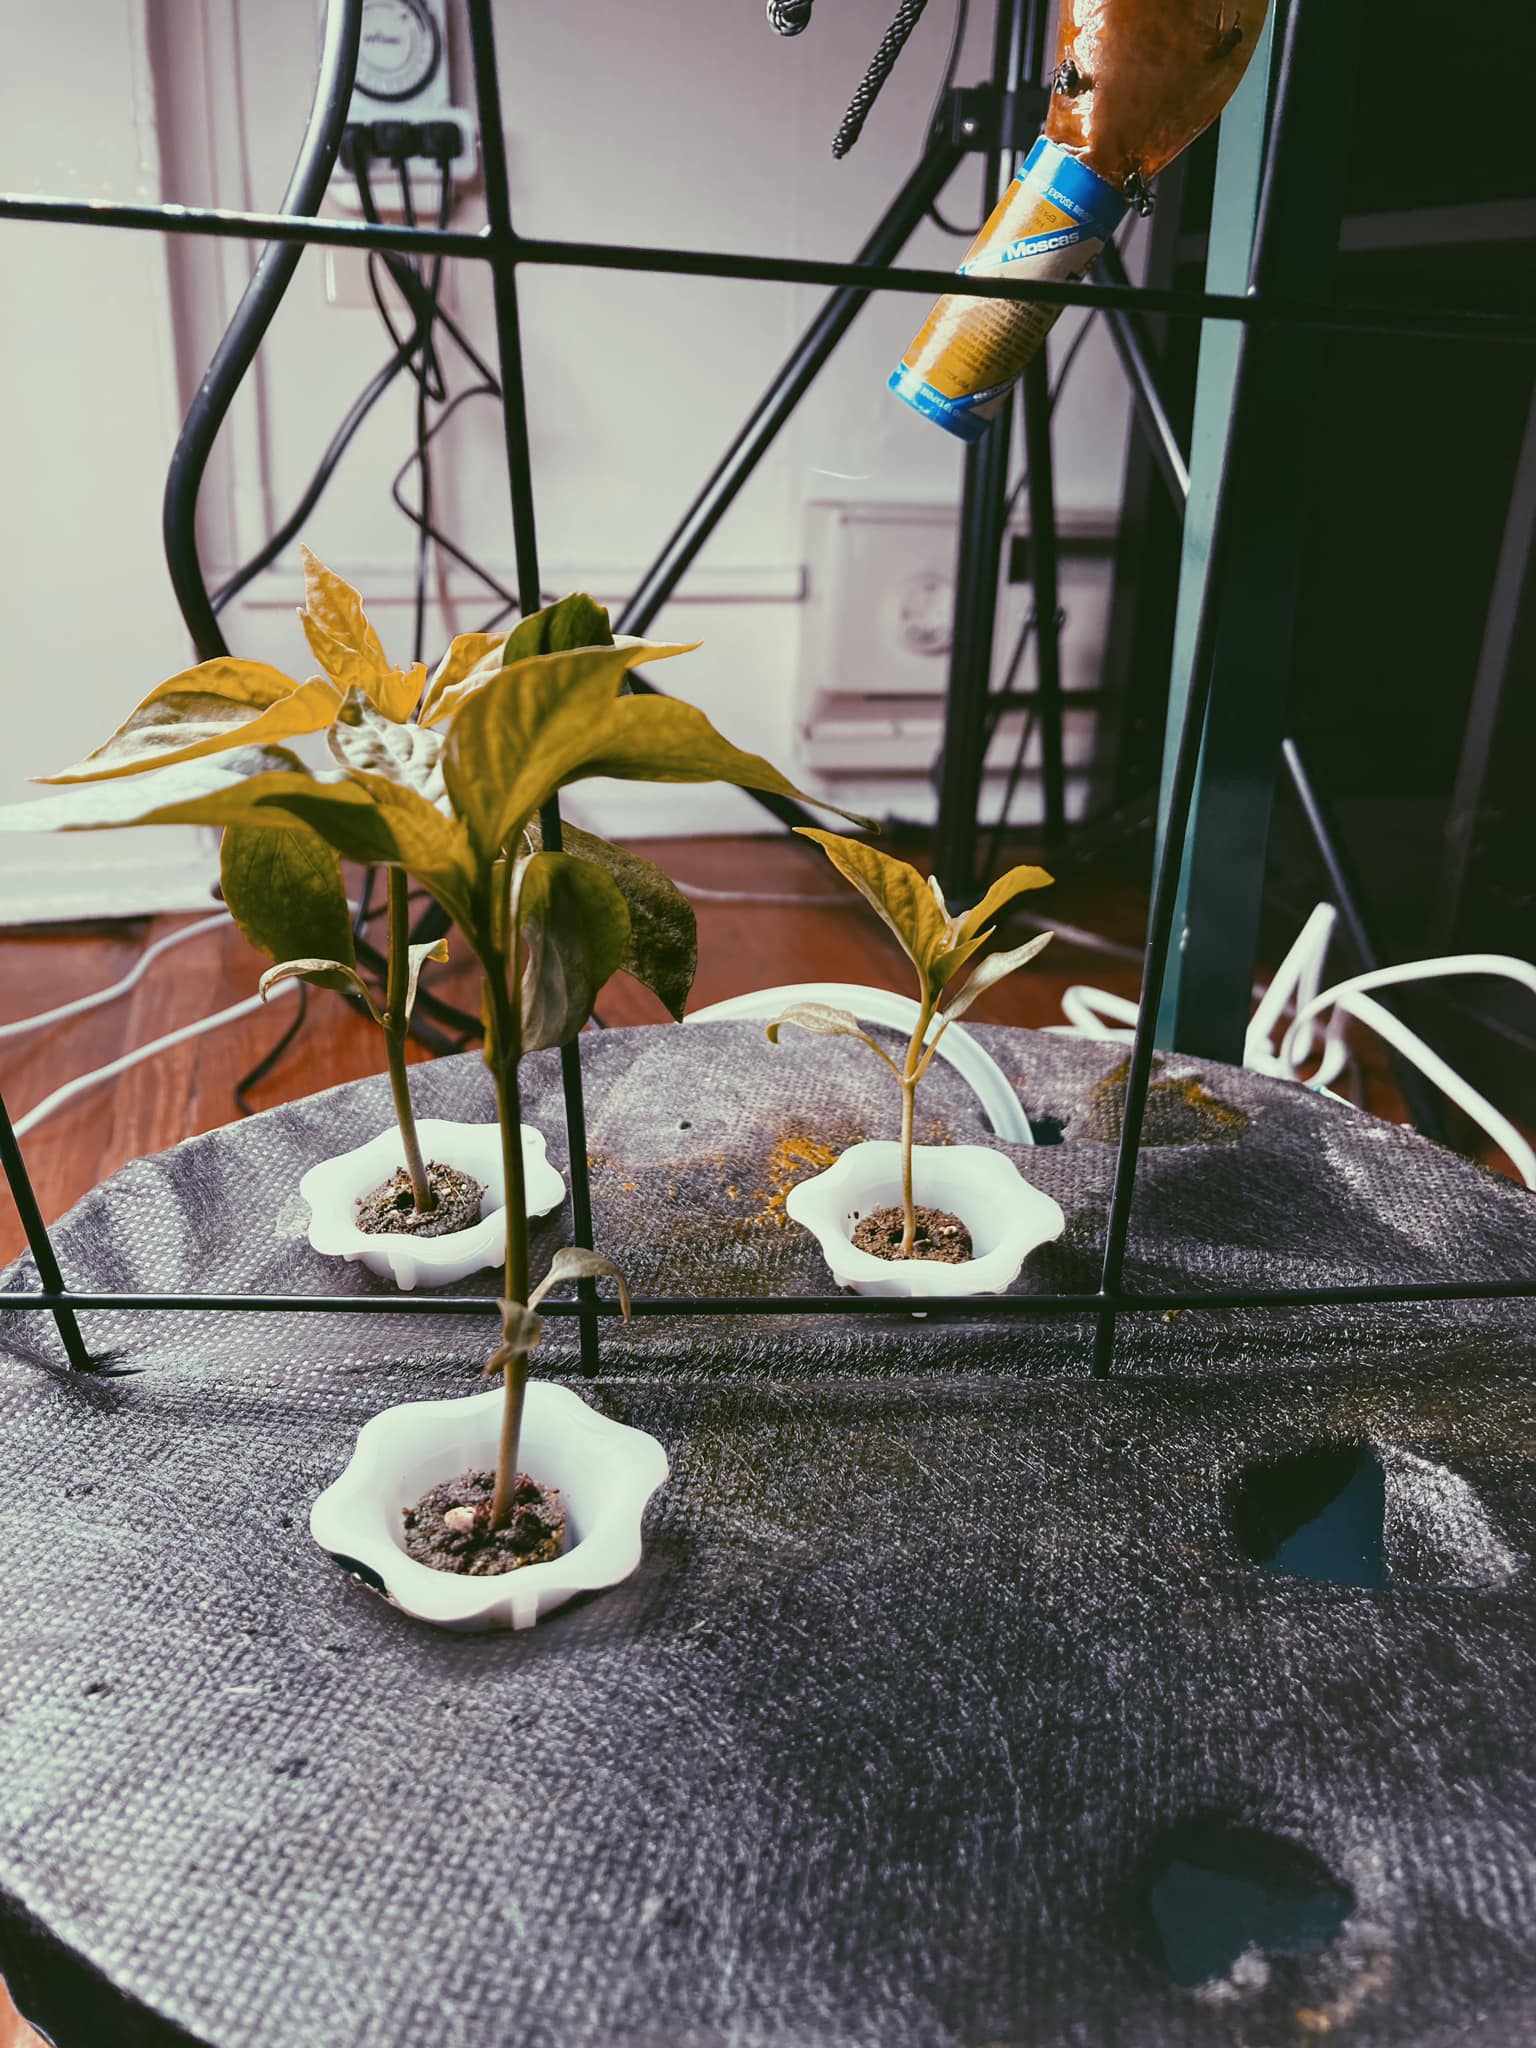
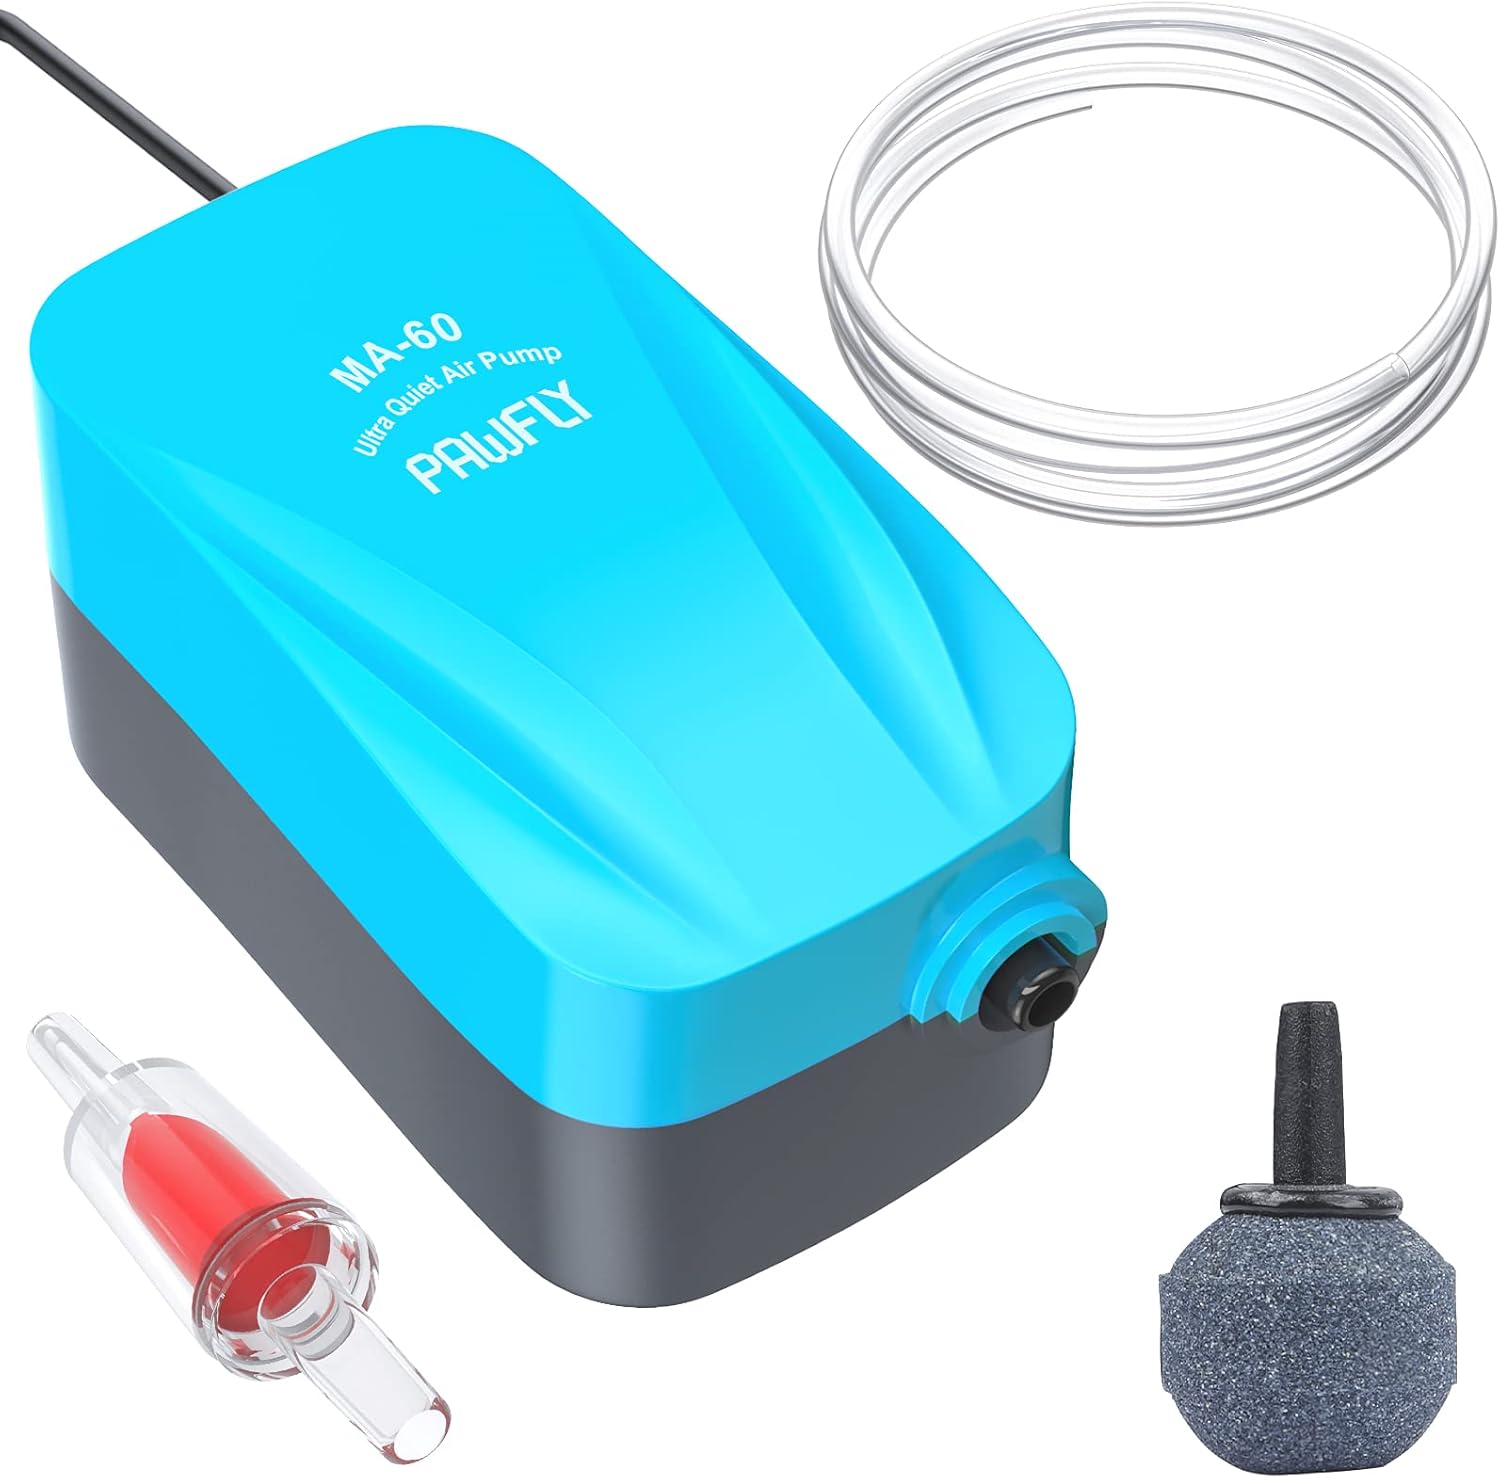
I’ve redesigned my hydro garden a bit. The tub I had been using got algae, and was too clear. The dollar store had 10″ garden planters available and weed blocker. I bought both and made a tub for poblano peppers, which shot up right away. I then redid the mixed bucket again to just one type of plant – scallions and that seems to be doing well with the one that sprouted from the mixed tub rooted and shot up. I ordered more check valves and airline tubing and will move the current buckets to a 4 outlet pump I have and then do a cilantro and spinach bucket. I’ve also figured a setup to store this in my living room.

New blog!! Pleasant St Homestead!

New blog!! One of my goals in my new space is to learn to be more self-sufficient. I’ve always thought that meant having a large plot of land to do farming activities and other related projects but I’m learning that that’s not always the case. My Pleasant St Homestead Blog will document that journey in becoming more and more self-sufficient. Here are the things I’ve been doing since moving to accomplish this goal

1. Zero-waste lifestyle
Really paying attention to my consumables and seeing where I can reduce waste. Recently I replaced battery operated candles with rechargeable ones so I wouldn’t have to deal with the waste of batteries. Another are reusable produce bags as the farm I get my veggies from uses plastic which drives me nuts.

2. Hydrogardening
I recently got into hydro gardening which is growing vegetables (and plants) in a bed/tub of water and nutrients rather than soil. It’s a little less maintenance as you don’t have to worry about them getting enough water. I’ve been struggling but I recently had some success with cilantro. My plan is once I have a tub fully flourishing I will learn about canning.

3. Dehydrating
This interest came to be as a result of my CSA (community supported agriculture) memberships and having excess of veggies going bad. Dehydrating food can preserve them and you can learn how to use them later. So far I’ve done onions, spinach and a few others.

Project: 18 hole Hydroponic Garden Setup.


18 hole hydroponic setup

This is a tutorial for my larger hydroponic setup. The setup allows 18 holes for plants; this particular setup has 5 different varieties of greens: arugula, kale mix, cilantro, spinach and green onion. 

This is a very simple project however requires basic understanding of hydroponics. The ph level in water is important as it helps imitate the environment of soil-based gardening. The liquid nutrients imitates the nutrients in the soil. You can lower ph levels naturally using lemon or lime juice. The plastic of the tote is important as well make sure it’s food grade; p5 is fine.

Instructions

  1. Take a 1 1/4″ hole saw and the sterlite 16 qt and mark your first hole
  2. Then use the hole as a template for the hole grid
  3. Drill a hole for the airline for the pump, make sure it’s big enough to not pinch the airline
  4. Drill a hole for the grow light
  5. Count the baskets you need (18 in this case)
  6. Fill the tote with water and measure the ph level, adjust as necessary
  7. With the last cup of water, soak the sponges for 5 minutes, pour remaining into the tote
  8. Place everything in their holes
  9. I planted two seeds for every basket to increase chances of germination
  10. Wait 7-10 days for peak germination