Category Archives: Growing

Spending the Day as a Beekeeper in Goshen, MA

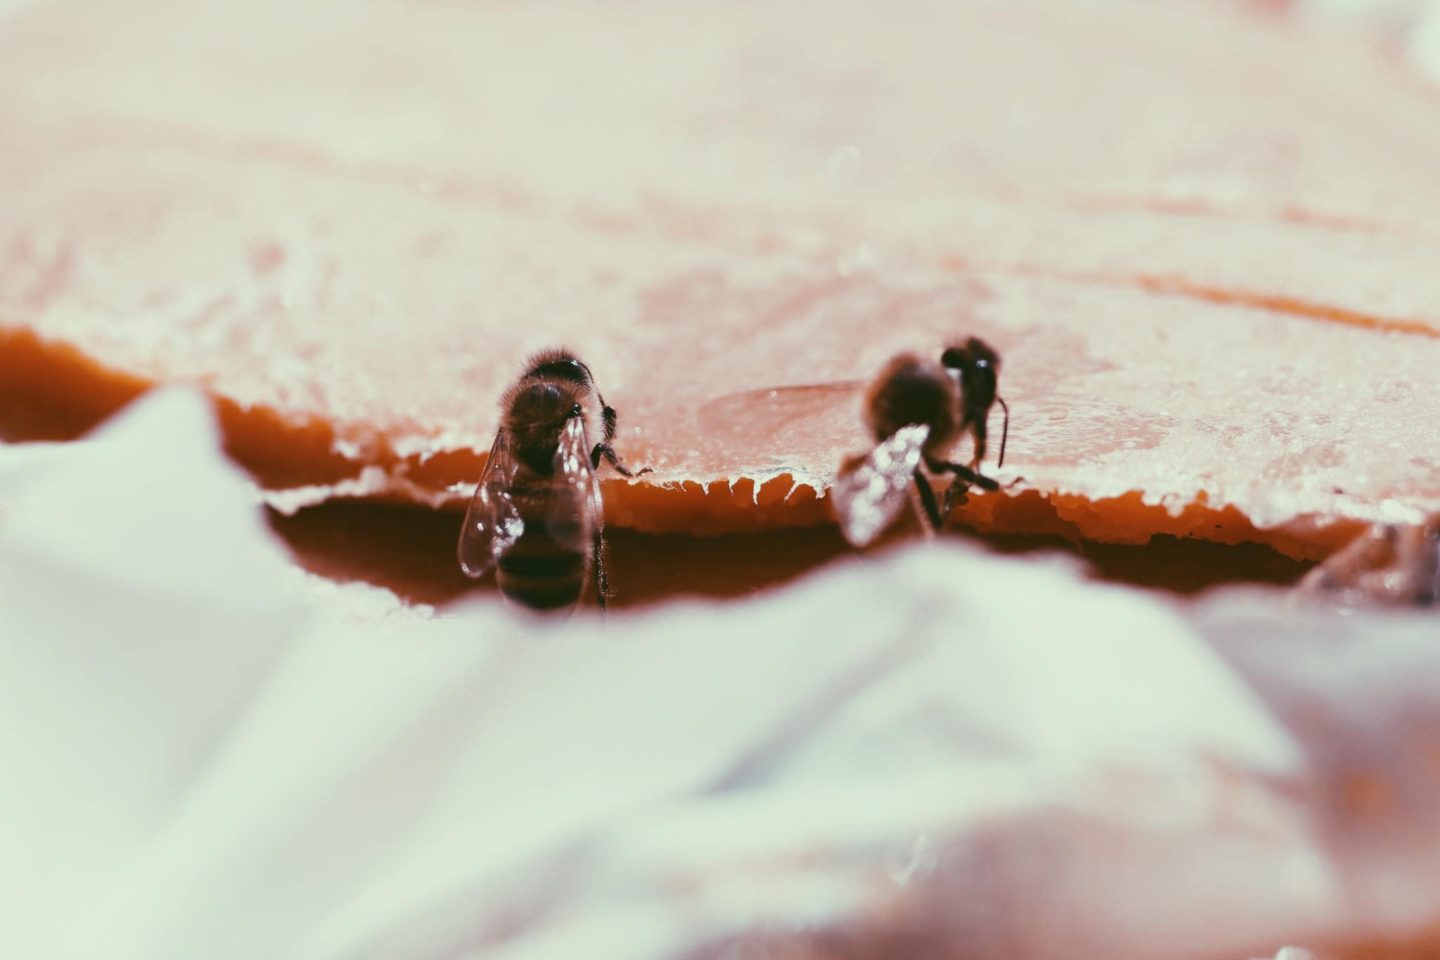
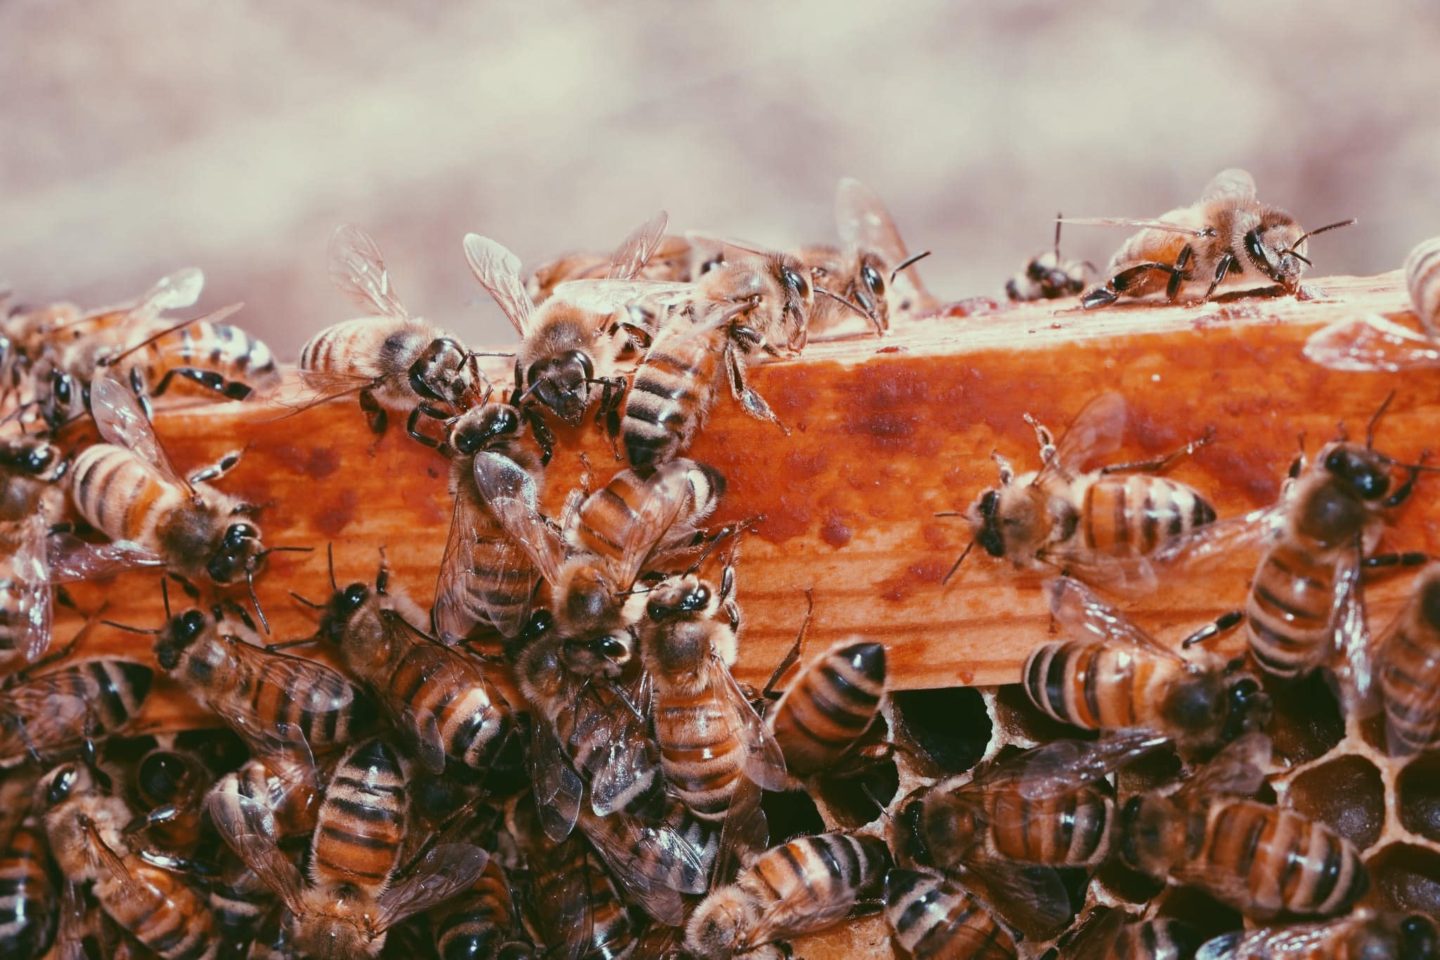
GOSHEN, MA – Today I spent the day shadowing a local beekeeper whom I connected with via the buy nothing groups on Facebook. She wanted some macro photos of her bees and I was excited to try my new lens. I’m very happy with the results of these images! I also learned a little about beekeeping a long the way.

Pleasant St Homestead: Larger Hydrogarden Setup

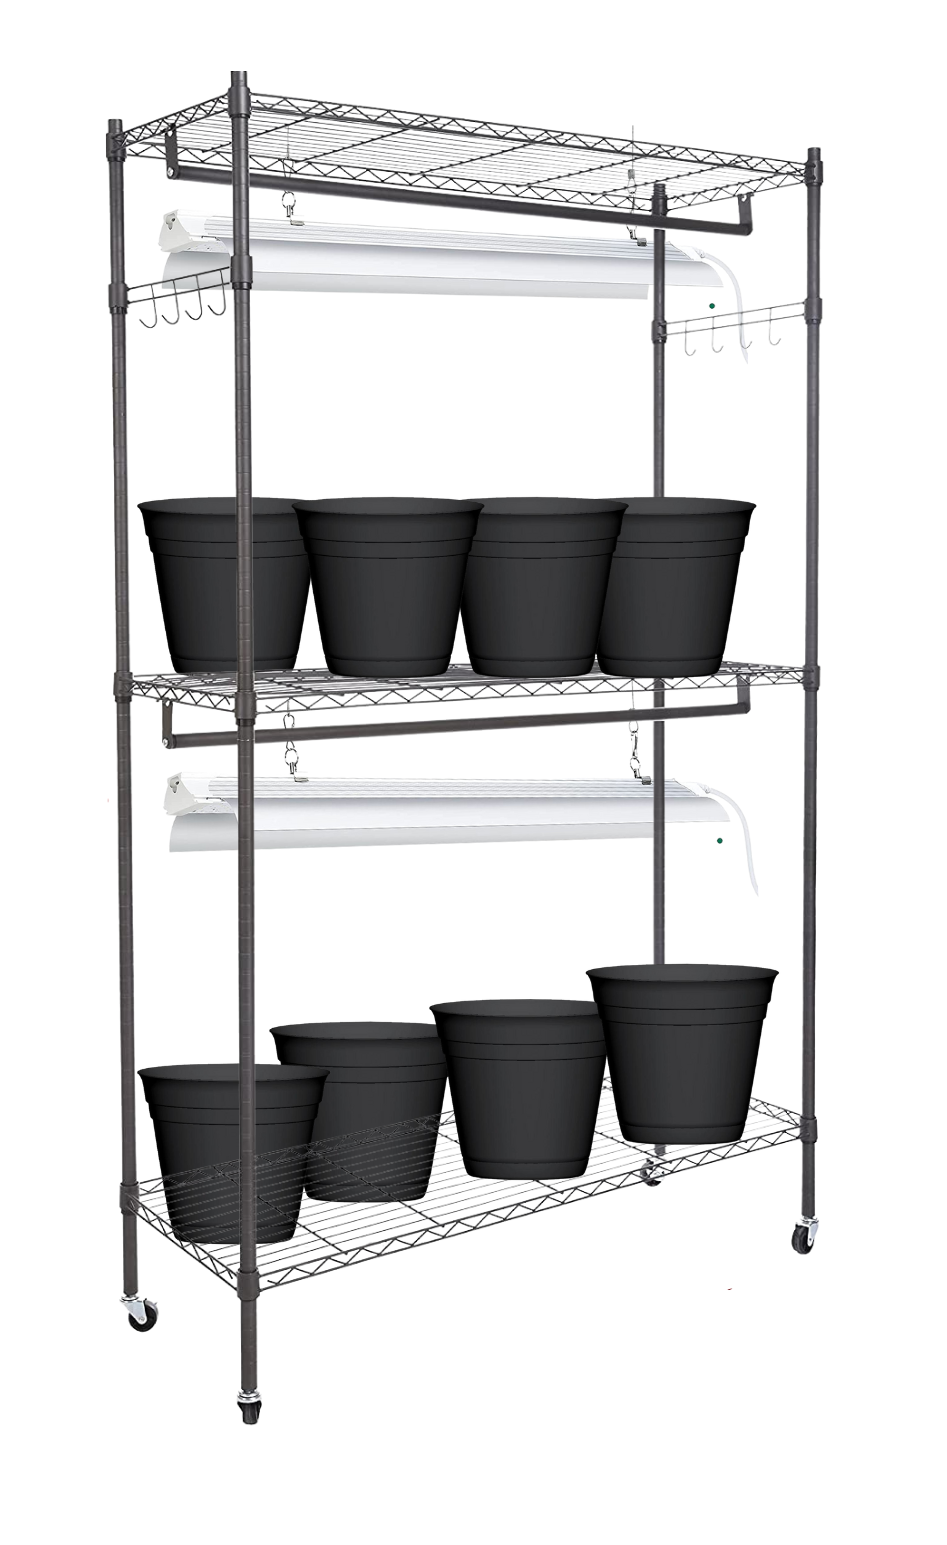
For Christmas this year I asked for a larger hydrogarden setup to fit into the corner of my living room. It’s a wardrobe rack with clothing rods that I plan to attach grow lights to. At this point in time I’m planning to just do leafy greens but have plans to continue to do tomatoes and peppers but you can see my rough draft for my garden plan, if there’s enough space I’d like to get another wardrobe rack for tomatoes and peppers (one with less shelves).

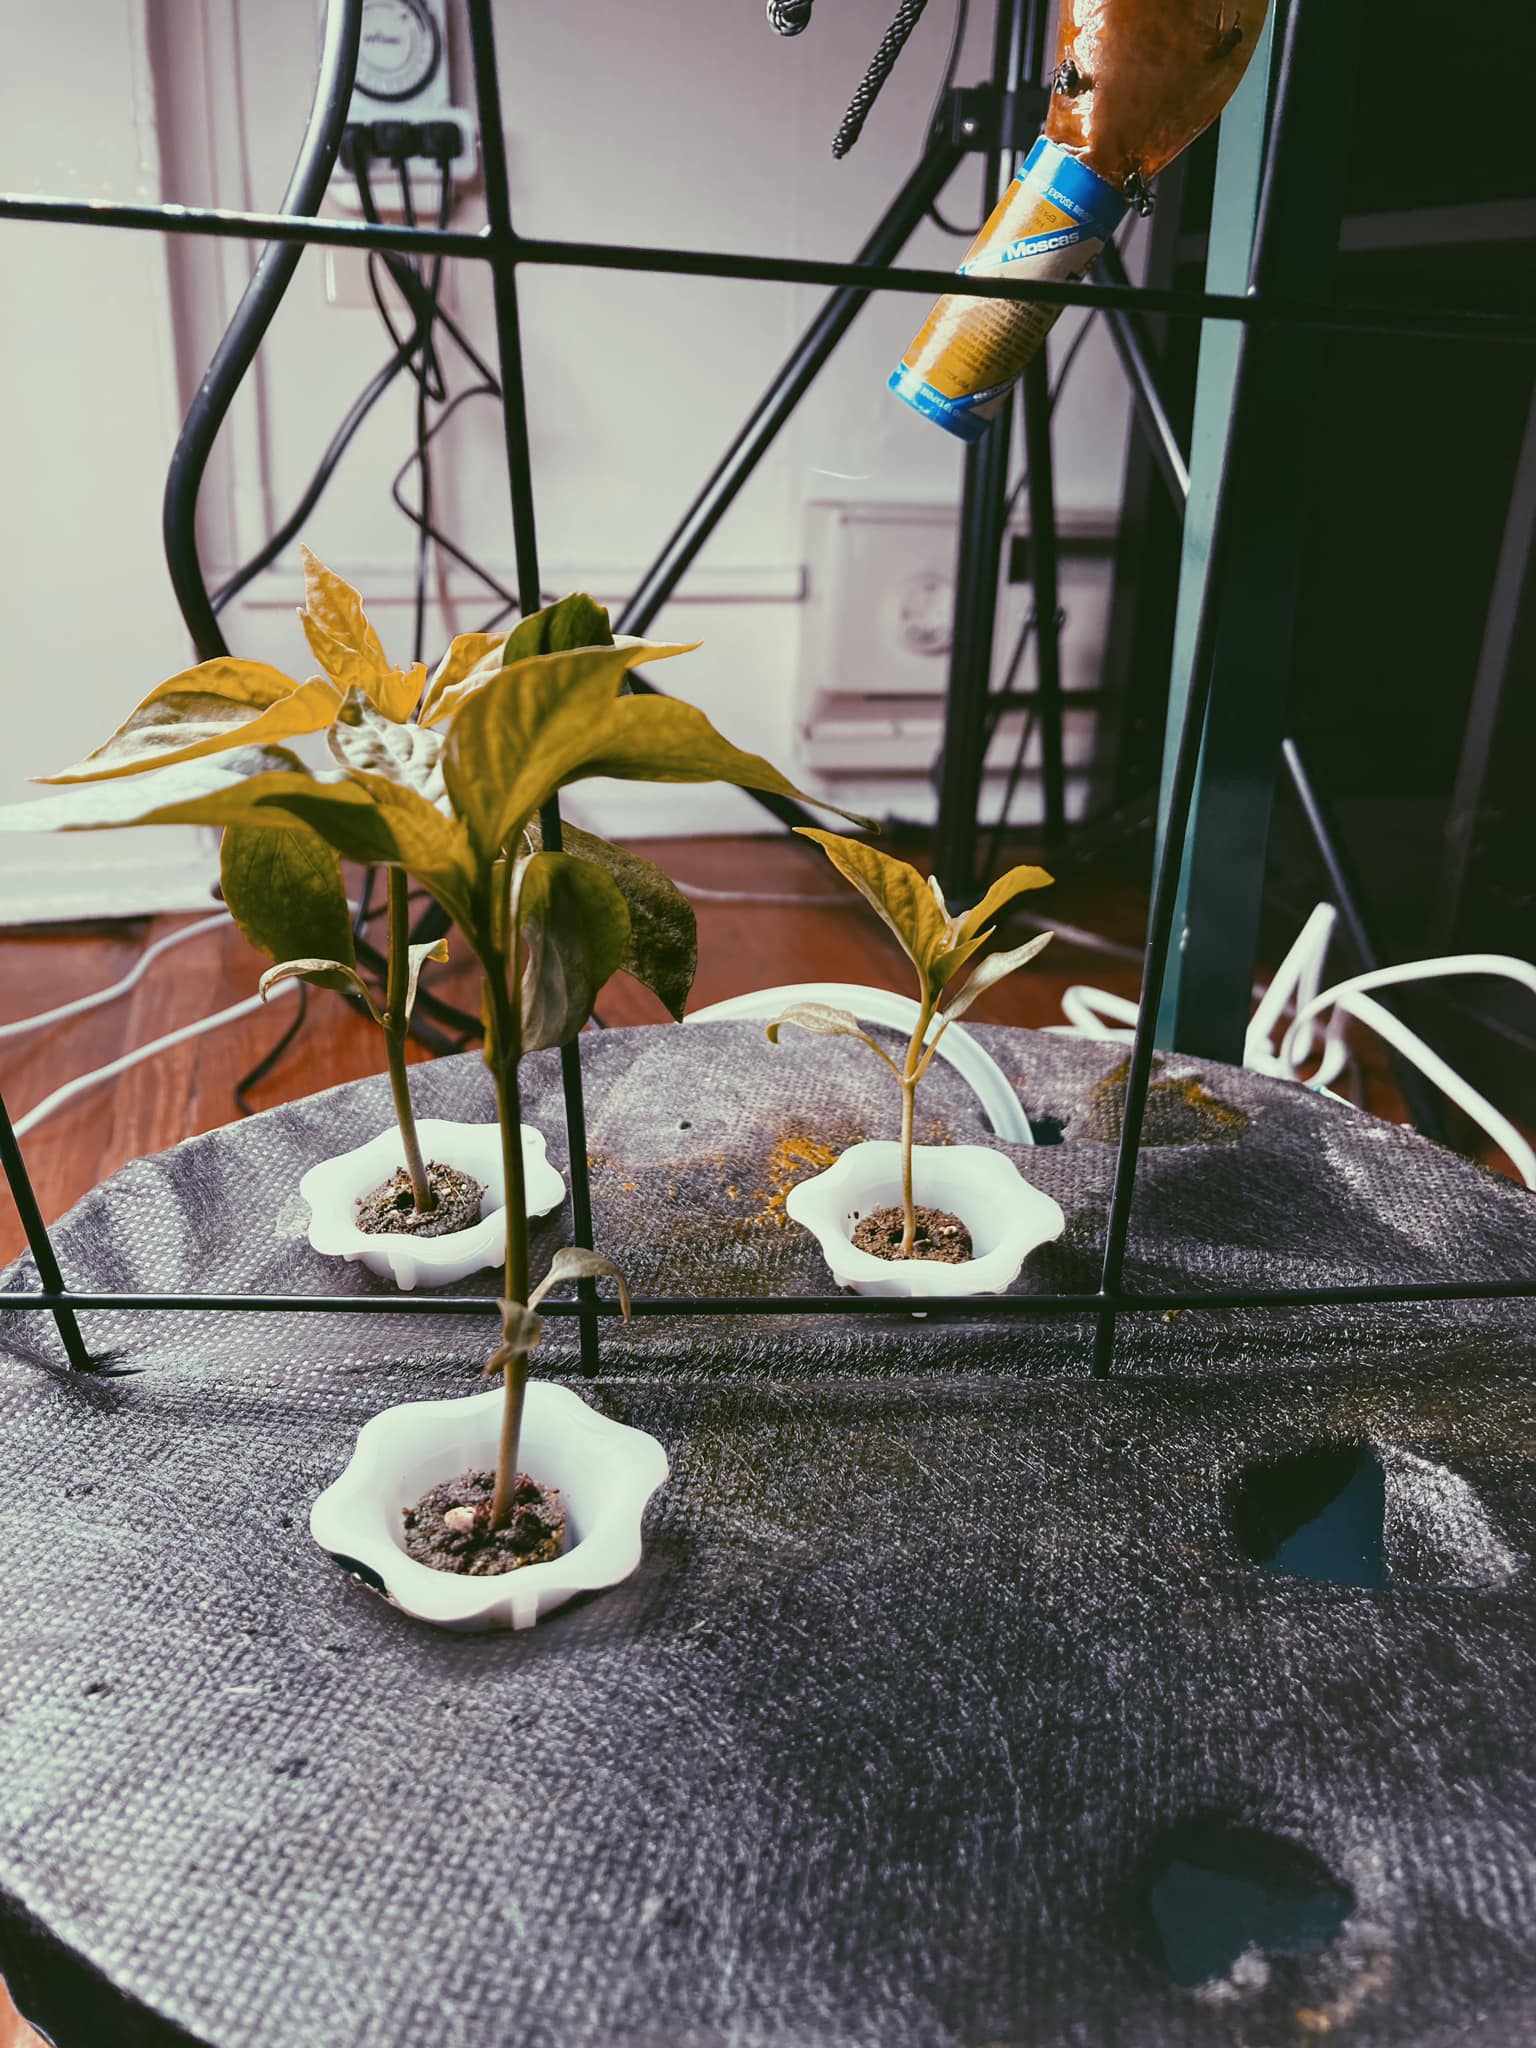
As you can see I have cilantro, spinach, green onion, arugula and maybe kale. I have been enjoying green onion this past year and plan to continue it, my current pot is unfortunately dying so I have to replant it but my poblano peppers are still growing strong! Although I think my living room overall is starting to feel a bit cold for them so it might be time to turn on the heat. My larger hydrogarden setup will look like the right pic. Depending on the size of the pots there may be 3-4 on each shelf.

The plan is to use my electric canner and dehydrator in this process too. I want to replant my small aerogarden pot for herbs. Dry the herbs in the dehydrator and then jar and store most of them in the apothecary. As you can see in the notion below I’ve picked out a few medicinal herbs, but with most of them being flowering I have to pay attention to the light, the grow lights I got won’t work for those.

I’m excited for this next chapter in my gardening journey! Follow along my urban homestead blog for updates!

How to Do Electric Canning

#electriccanning #foodpreservation

I got some money for Christmas/Yule this year and I purchased an electric canner with some of it. I’m so excited about my new electric canner! It’s a great way to preserve food and make delicious meals. I love the convenience of being able to can my own food without having to use a stovetop. Plus, it’s much safer than traditional canning methods, since electric canners are designed to maintain a consistent temperature while preserving food. I’m looking forward to experimenting with different recipes and creating some delicious homemade meals!

Electric canning is an increasingly popular way of preserving food for longer periods of time. With the help of electric canning, you can preserve fruits, vegetables, sauces, and even meat, without the need for refrigeration. Electric canning is a process of sealing food into airtight containers, often called jars, to prevent spoilage and bacteria from entering. The process of electric canning has been around for centuries, but it has become more widely used in recent years, due to the convenience and safety it offers.

The first step in electric canning is to select the right type of canning jar. The type of jar to use depends on the food you are preserving. There are a variety of sizes and shapes of jars available, so you should select the jar that best suits your needs. You should also make sure to purchase a canning lid that fits your jar and can be sealed properly.

Next, you will need to fill the jars with the food you want to preserve. You will need to pay attention to the amount of food you are placing in each jar and make sure that it is filled correctly so that the food has adequate room to expand during the canning process. You will then need to add a small amount of liquid, usually water, to each jar to help the food to move freely during the canning process.

Once you have filled the jars and sealed the lids, you will need to place the jars into the electric canner. The electric canner will heat the jars to a temperature of 240 degrees Fahrenheit, which is the optimal temperature for canning. Once the jars have been heated for the required amount of time, the canner will then shut off automatically.

Finally, the jars will need to be removed from the canner and allowed to cool completely before storing. This is a critical step in the electric canning process, as it prevents the food from spoiling. Once the jars have completely cooled, you can store them in a cool dark place for up to one year. Electric canning is a great way to preserve food for long periods of time, and it is a safe and convenient method of preserving food.

4 Ways to Preserve Food for Long-term Storage

Drying food is a great way to #preserve it for long-term storage. #Food drying has been used for centuries, and it is still a popular method of food preservation today. Dried foods are #lightweight, easy to store, and can last for months or even years without spoiling.

There are several methods of drying food. The most common is air-drying, which involves removing moisture from the food by exposing it to air. This can be done with natural air flow, or with the use of a food dehydrator. Air-drying works best with vegetables and fruits, as they have high moisture content.
Another method of drying food is freeze-drying. This involves freezing the food, then subjecting it to a vacuum. This removes the moisture, leaving behind food that is lightweight and has a long shelf life. Freeze-dried food can also be rehydrated and used in recipes.

Sun-drying is another way of drying food. This method involves exposing the food to the sun for several days, until the moisture content is sufficiently reduced. Sun-drying is best suited for vegetables and fruits, as well as herbs and spices.

Finally, a more modern method of drying food is microwave drying. This method involves using a microwave to reduce the moisture content of the food. Microwave drying is best used for herbs, spices, and delicate fruits and vegetables.

No matter which method of drying food you choose, it is important to make sure that the food is completely dried before storing it. This will ensure that it lasts for months or even years without spoiling. Dried food can be used in a variety of recipes, and it is a great way to preserve food for the long-term.

Hydrogarden Update: Redesign

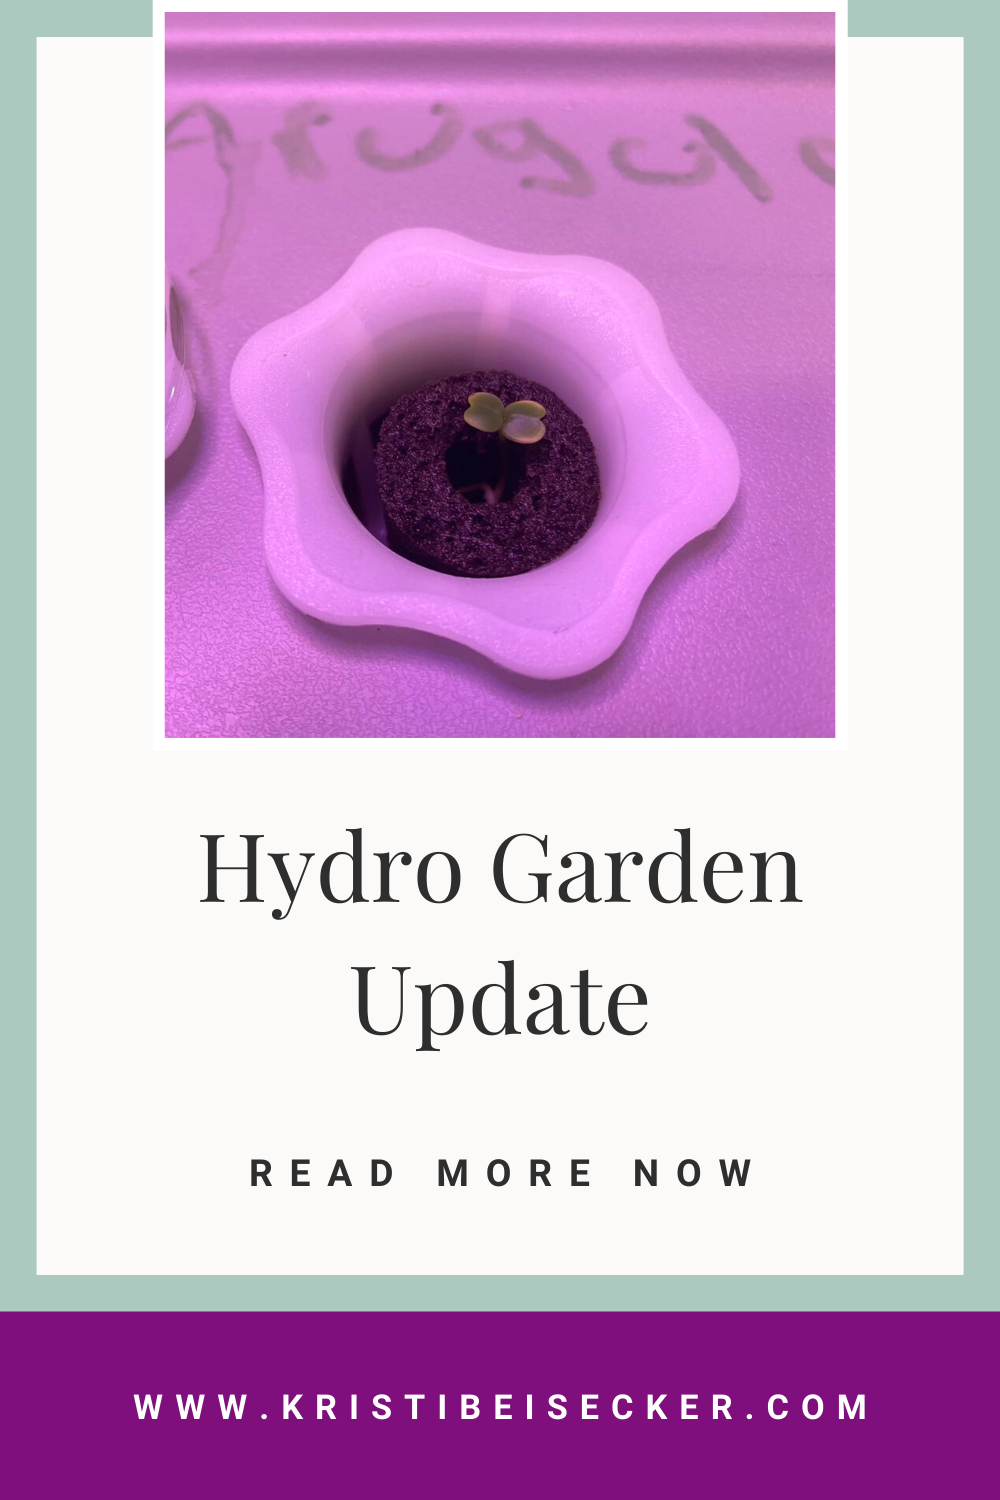
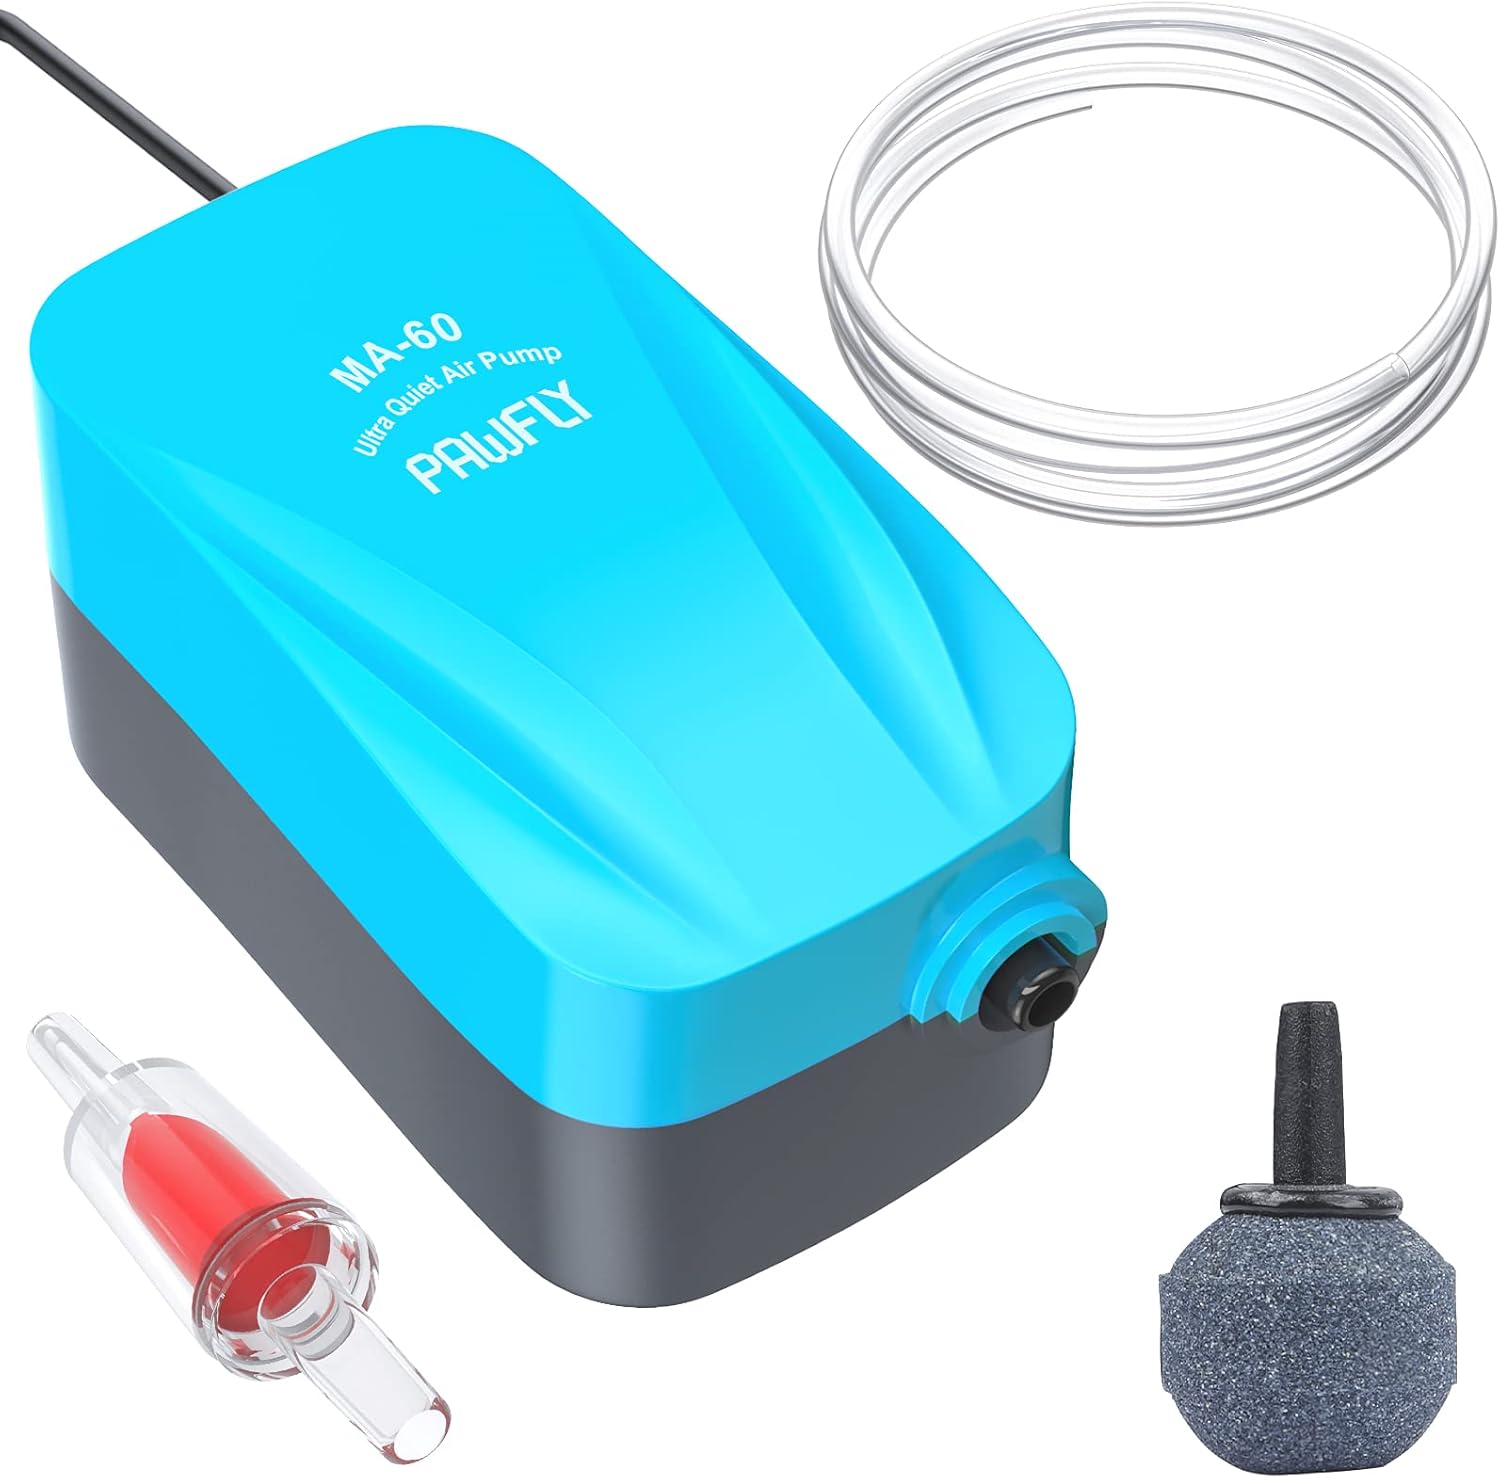
I’ve redesigned my hydro garden a bit. The tub I had been using got algae, and was too clear. The dollar store had 10″ garden planters available and weed blocker. I bought both and made a tub for poblano peppers, which shot up right away. I then redid the mixed bucket again to just one type of plant – scallions and that seems to be doing well with the one that sprouted from the mixed tub rooted and shot up. I ordered more check valves and airline tubing and will move the current buckets to a 4 outlet pump I have and then do a cilantro and spinach bucket. I’ve also figured a setup to store this in my living room.

New blog!! Pleasant St Homestead!

New blog!! One of my goals in my new space is to learn to be more self-sufficient. I’ve always thought that meant having a large plot of land to do farming activities and other related projects but I’m learning that that’s not always the case. My Pleasant St Homestead Blog will document that journey in becoming more and more self-sufficient. Here are the things I’ve been doing since moving to accomplish this goal

1. Zero-waste lifestyle
Really paying attention to my consumables and seeing where I can reduce waste. Recently I replaced battery operated candles with rechargeable ones so I wouldn’t have to deal with the waste of batteries. Another are reusable produce bags as the farm I get my veggies from uses plastic which drives me nuts.

2. Hydrogardening
I recently got into hydro gardening which is growing vegetables (and plants) in a bed/tub of water and nutrients rather than soil. It’s a little less maintenance as you don’t have to worry about them getting enough water. I’ve been struggling but I recently had some success with cilantro. My plan is once I have a tub fully flourishing I will learn about canning.

3. Dehydrating
This interest came to be as a result of my CSA (community supported agriculture) memberships and having excess of veggies going bad. Dehydrating food can preserve them and you can learn how to use them later. So far I’ve done onions, spinach and a few others.

Project: 18 hole Hydroponic Garden Setup.


18 hole hydroponic setup

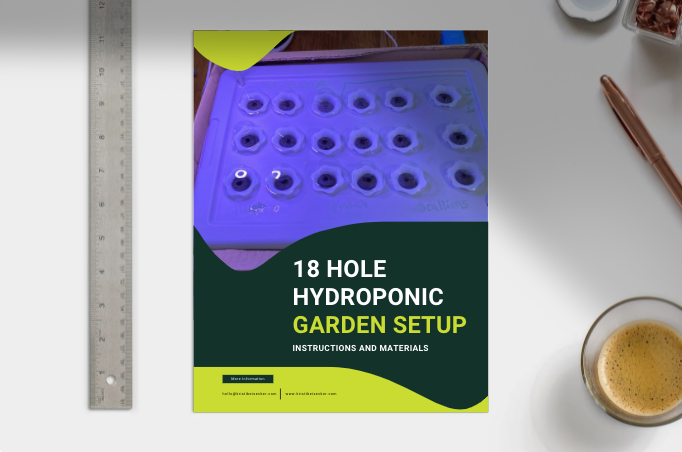
This is a tutorial for my larger hydroponic setup. The setup allows 18 holes for plants; this particular setup has 5 different varieties of greens: arugula, kale mix, cilantro, spinach and green onion. 

This is a very simple project however requires basic understanding of hydroponics. The ph level in water is important as it helps imitate the environment of soil-based gardening. The liquid nutrients imitates the nutrients in the soil. You can lower ph levels naturally using lemon or lime juice. The plastic of the tote is important as well make sure it’s food grade; p5 is fine.

Instructions

  1. Take a 1 1/4″ hole saw and the sterlite 16 qt and mark your first hole
  2. Then use the hole as a template for the hole grid
  3. Drill a hole for the airline for the pump, make sure it’s big enough to not pinch the airline
  4. Drill a hole for the grow light
  5. Count the baskets you need (18 in this case)
  6. Fill the tote with water and measure the ph level, adjust as necessary
  7. With the last cup of water, soak the sponges for 5 minutes, pour remaining into the tote
  8. Place everything in their holes
  9. I planted two seeds for every basket to increase chances of germination
  10. Wait 7-10 days for peak germination